The drum kit isn't just another instrument in your track—it's the heartbeat of modern music. With its dynamic range of drums and cymbals spanning the full frequency spectrum, it sets the groove, energy, and foundation for most songs. But its complexity is a double-edged sword. While it brings rhythm to life, it also occupies a significant chunk of your mix, making it a challenge to control.
Getting the drums right from the start is essential. A poorly balanced drum mix can turn into a time-sucking black hole of adjustments and remixes. But with the right techniques, you can unlock their full potential and make them punchy, clear, and cohesive.
In this guide, we’ll walk you through the art of mixing drums step by step, ensuring your beats hit hard and stand out in any mix. Let’s dive in and craft the perfect drum sound together!

Finding Balance in Your Drum Mix
Achieving a killer drum sound starts with balance—not just within the drum kit but also between the drums and the rest of your mix. This foundational step lays the groundwork for a cohesive and impactful sound.
Begin by carefully listening to the drum kit. Each element should be clearly audible, with the snare typically taking the lead as the loudest, followed by the kick and toms. Use the overhead and room mics to craft a sense of space that ties all the close mics together for a cohesive sound.
Even experienced producers can struggle to determine when the balance feels just right. This is where reference tracks come in. Using a tool like REFERENCE, you can effortlessly compare your mix to professionally mastered tracks. Drag your favorite reference mixes into the Wave Transport, engage the Level Match feature, and press play.
Toggle between your mix and the references while paying close attention to the balance of each drum element. Adjust your levels as needed until your mix aligns with the clarity and balance of the references.
For an even deeper dive, check out the Trinity Display in REFERENCE. It visually compares the frequency balance, stereo width, and punch of your track against your references. Take note of any imbalances and address them step by step. This process ensures that your drums not only sound great but also sit perfectly in your mix.

Perfecting Your Drums with EQ
When EQing drums, context is everything. It’s tempting to hit the solo button to hone in on each element, but that approach can be deceiving. Soloing might lead you to boost frequencies that already dominate in other parts of your drum mix, like the overheads, resulting in a cluttered or unbalanced sound. Always EQ with the full mix in mind.
Each drum mix is unique, but there are some go-to frequency ranges worth focusing on. Here’s a breakdown of the key frequencies for each part of the drum kit:
Kick
- Use a high-pass filter to remove low-end rumble, up to 50 Hz depending on the mix.
- Boost the kick’s fundamental frequency (60–120 Hz) to add weight, or cut it if it’s too boomy.
- Clean up mud around 250 Hz in the low-mids.
- Address boxiness or room tone in the 250 Hz–1 kHz range.
- Add attack and snap by boosting 1–5 kHz if needed.
Snare
- High-pass filter up to 100 Hz to clean up low-end rumble.
- Boost or cut the snare’s fundamental frequency (150–250 Hz) for body.
- Reduce muddiness in the 250–500 Hz range.
- Identify and tame ringing with a narrow cut between 500 Hz and 1.5 kHz.
- Boost 3–5 kHz for attack, and 8 kHz+ with a high shelf for air and sizzle.
Toms
- High-pass filter up to 100 Hz to remove rumble.
- Focus on the tom’s body by boosting 80–200 Hz.
- Eliminate mud around 250 Hz.
- Address boxiness in the 250 Hz–1 kHz range.
- Enhance attack with a 1–5 kHz boost as needed.
Cymbals and Overheads
- High-pass up to 300 Hz for close-mic’d cymbals to clear space for low-end instruments.
- Remove mud around 250 Hz and boxiness between 250 Hz and 1 kHz.
- If needed, carve space for vocals with a small cut around 5 kHz.
- Add sparkle and shimmer by boosting above 8 kHz with a high shelf.
After shaping each track, take your drum mix to the next level by adding BASSROOM to your drum bus. The built-in target presets are a fast and effective way to ensure your low-end is tight and balanced, saving you time and effort on individual EQ tweaks.
 Taming Drum Bleed: Noise Gates vs. Dynamic Enhancement
Live drum recordings often come with a common challenge: noise bleed. This occurs when sounds from one drum are picked up by multiple microphones, creating a messy and unpolished sound. Left unchecked, this bleed can make mixing a nightmare and leave your drum tracks sounding cluttered and unfocused.
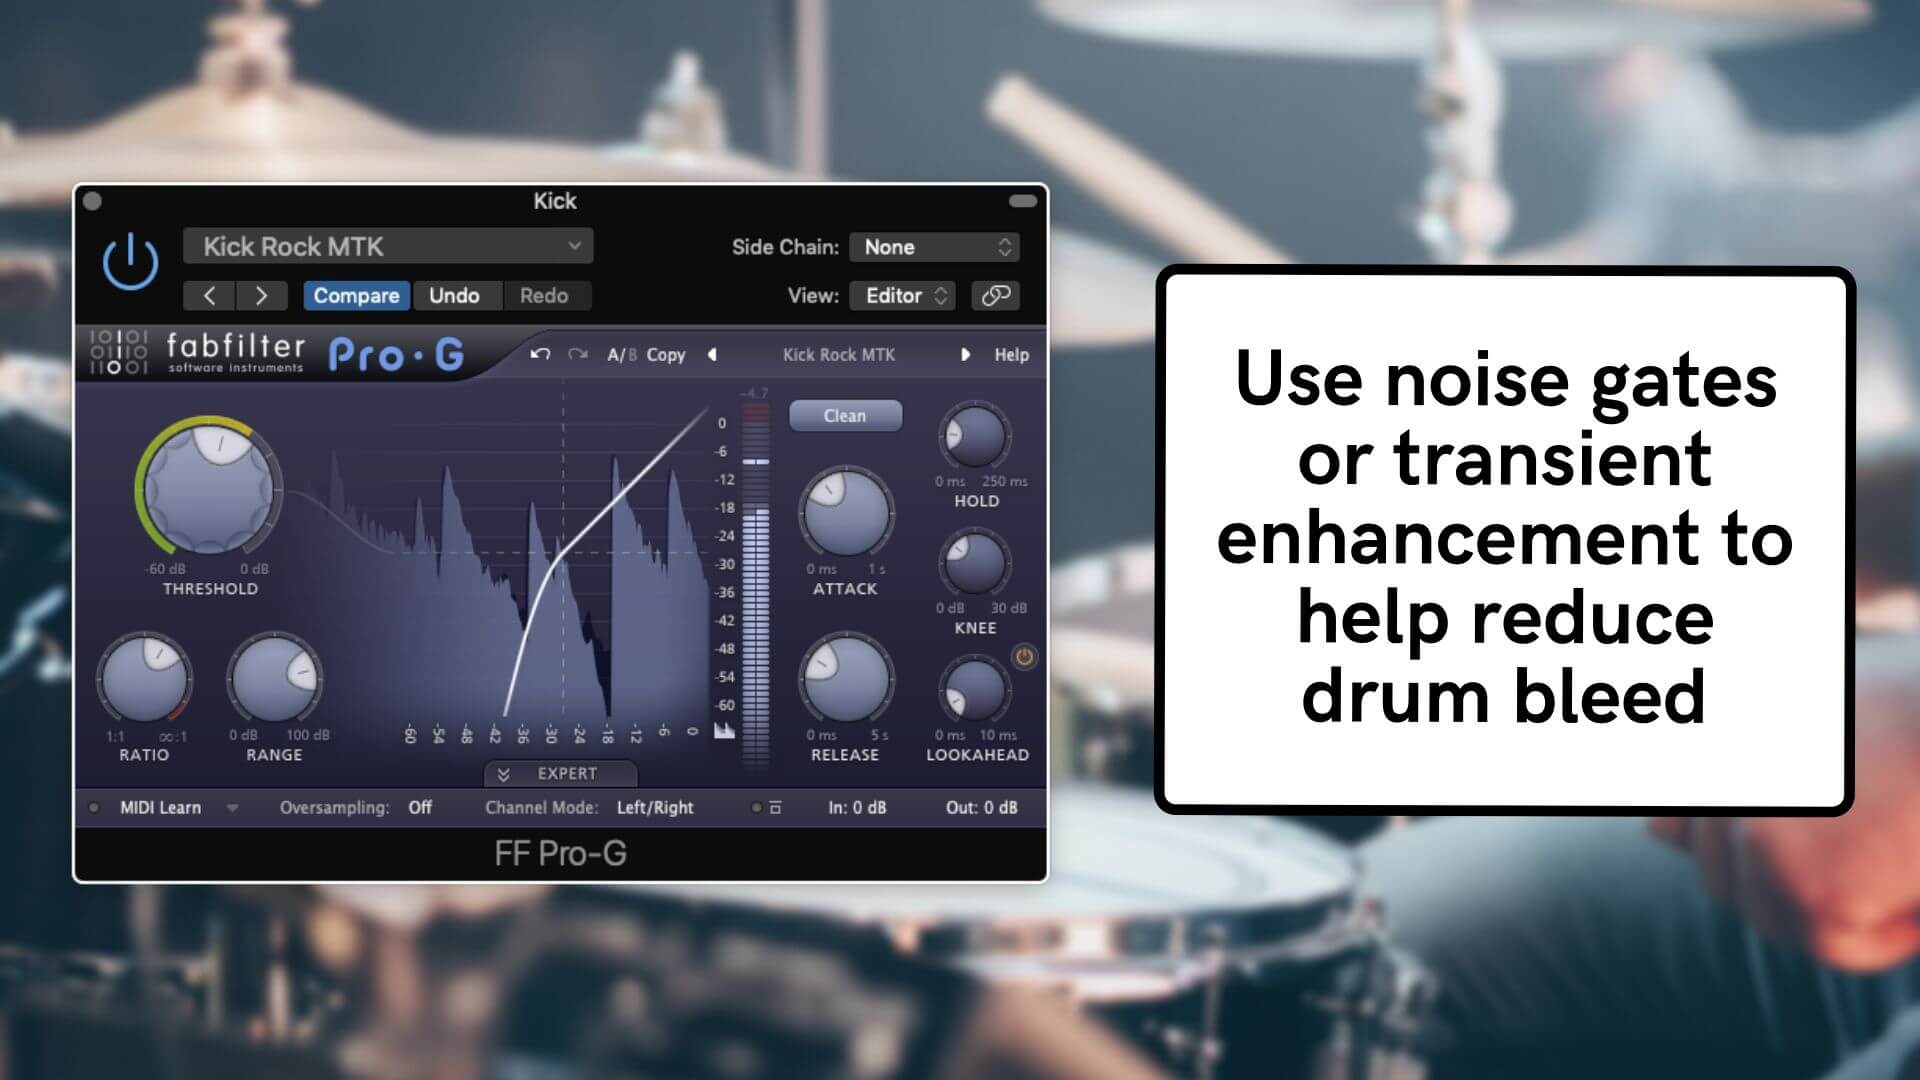
To combat this, many engineers use noise gates to clean up kick, snare, and tom mics. A noise gate works by silencing the mic whenever the drum isn’t being played. Set the threshold so the gate stays closed when the drum is idle and opens only when the drum’s signal exceeds the threshold. This effectively eliminates bleed and isolates each drum for a cleaner mix.
That said, noise gates have their limitations. Using them on overhead mics, for example, can create an unnatural effect—like someone repeatedly opening and closing a studio door. Even on close mics, excessive gating can leave your drums sounding sterile or overly choppy.
For a more organic solution, try using PUNCH. This dynamic transient enhancement plugin accentuates the attack of a drum without completely muting the room tone. By enhancing the punch and presence of your drums while maintaining the natural ambiance, PUNCH helps you achieve a cleaner sound without sacrificing the lively character of a live performance.
Whether you choose noise gates or PUNCH, the key is finding the right balance that preserves the energy and integrity of your drum recordings while keeping your mix clean and focused.
 Compression For The Full Kit
Compressors are powerful tools that allow you to control the dynamic response of a drum kit. They can be used to enhance the attack of each drum, create a more controlled sound, or help glue the whole mix together.
In many genres, it’s common to compress each drum channel individually. Although the settings may vary greatly, depending on what you’re trying to accomplish.
Slow attack times allow the full impact of the drum to pass through and then clamp down on the sustained portion of the sound, helping the transients cut through the mix. But if the attack time is too slow, the compressor may not be fast enough to catch each transient.
Fast attack times shave off the initial transient of the hit, which can be great for adding control. But if the attack time is too fast, it sucks all of the impact out of the drum and pushes it further back in the mix. (This may be what you're aiming to do!)
When working with drums, it’s best to use moderate to fast release times. Fast release times can help add excitement and perceived loudness—but too fast can cause unwanted pumping sounds.
When setting attack and release times for drums, I like to start with the slowest attack time and fastest release time, then adjust to taste. I increase the attack time until I start to lose too much of the initial transient, then back off a bit.
Then I slowly decrease the release time to make the compressor “breathe” in time with the tempo of the song. I want to see the needle moving 3-6 dB each time the drum hits and returning back to 0 just before the next hit.
I typically start with the ratio around 4:1 and increase it for a more aggressive sound, or decrease it for a more gentle sound, like for overheads and cymbal mics.
Except when it comes to parallel compression—then I crank the ratio as high as possible. Some engineers use parallel compression on the whole drum bus, but I find it makes the cymbals sound rather noisy.
I typically send kick, snare, and toms to an aux bus, smash them to smithereens, and gently blend them back in to help beef up the sound. Using heavy compression on the room mics creates an exciting, energetic sound that’s great for some tracks too.
 Reverb
When you listen to a drum kit, you listen to the whole thing. You don’t listen with your ear three inches from the snare drum. That’s why a drum mix with all close mics sounds claustrophobic. Reverb is a great tool for adding depth and space to any drum mix.
Depending on the genre, you may choose a small room. Something bright and echoing like a garage, or something smooth and warm like a wooden recording studio.
Hall reverbs are also a common choice when working with drums. Perfect for more “live” sounding material, hall reverbs capture the sound of drums being played in a live music venue.
If you’re looking for something dark, moody, and ambient, try a plate reverb. These classic reverbs give your drums a cool metallic sound that’s great for adding space by smearing the sound.
 Drum Bus Processing
Finally, I always like to apply a round of bus processing as the cherry on top.
First, I start with a colorful shelf EQ to help add a little thump in the lows and sparkle in the highs.
Then I use a fast-acting compressor (preferably with a side-chain filter and an automatic release) to glue the mix together with a little bus compression.
Depending on the mix, I may use a stereo enhancement tool like GROW to help add excitement—especially in the high frequencies above 8 or 10 kHz.
And last but not least, I always like to top off my drum mix with a little saturation. Personally, I like using a tape machine emulation plug-in to help give my drum mix that final coat of polish.
Not only does it add harmonics, which helps the drums cut through the mix, but it also rolls off the highs and fattens up the low-mids with a compression-like effect.
 Recap
Recap
That was a lot to take in, right? Let’s have a quick recap:
- Use reference mixes to help you balance each element of the drum kit
- Use EQ to cut problem frequencies and enhance what you like about each drum
- Use noise gates or transient enhancement to help reduce drum bleed
- Use compression to add attack, tighten up the performance, and make the drums breathe in time with the tempo of the track
- Use room, hall, or plate reverb to create a space and add depth to your drums
- Use bus processing to apply the final coat of polish that takes your mix over the top
Follow these simple steps and you’ll be well on your way to professional-sounding drum mixes!


