
Balancing vocals in a dense mix can feel like walking a tightrope—too soft, and they’re buried; too loud, and the track feels disconnected. Striking the perfect balance is essential to crafting a professional, polished sound that captivates listeners.
In this blog, we’ll dive into actionable techniques for ensuring your vocals shine without overshadowing the instrumentation. You’ll learn how to carve out space with EQ, enhance clarity with compression, and create depth using stereo width and effects.
Whether you’re mixing heavy guitars, lush synths, or intricate layers, these tips will help you maintain clarity and cohesion. By the end, you’ll have the tools to master any mix and make your vocals the star of the show. Let’s get started!

Understanding the Role of Vocals
Vocals are often the emotional core of a track, carrying the story and connecting with listeners on a deeply personal level. Whether it’s a powerful lead in a rock anthem or a silky melody in a pop hit, vocals are typically the focal point of the mix. However, dense instrumentation—layers of guitars, synths, percussion, and effects—can easily drown them out, leaving your mix feeling cluttered and unbalanced.
A well-balanced mix gives the vocal space to shine while ensuring every instrument complements its presence. The trick lies in finding that balance without stripping away the energy and richness of the instrumental layers. Imagine a cinematic action scene: the hero (your vocal) must stand out, but the backdrop (the instrumentation) still needs to add depth and drama without stealing the spotlight.

Pre-Mixing Preparation
Great mixes don’t just happen—they’re built on a solid foundation of preparation. Before you dive into balancing your vocals with dense instrumentation, it’s crucial to set the stage for success. A little planning goes a long way in avoiding the common pitfalls that lead to muddy or cluttered mixes.
Start by using reference tracks that align with your sonic goals. Load up a plugin like REFERENCE to compare your mix with commercial releases in the same genre. This gives you a clear benchmark and helps you identify areas where your mix needs improvement.

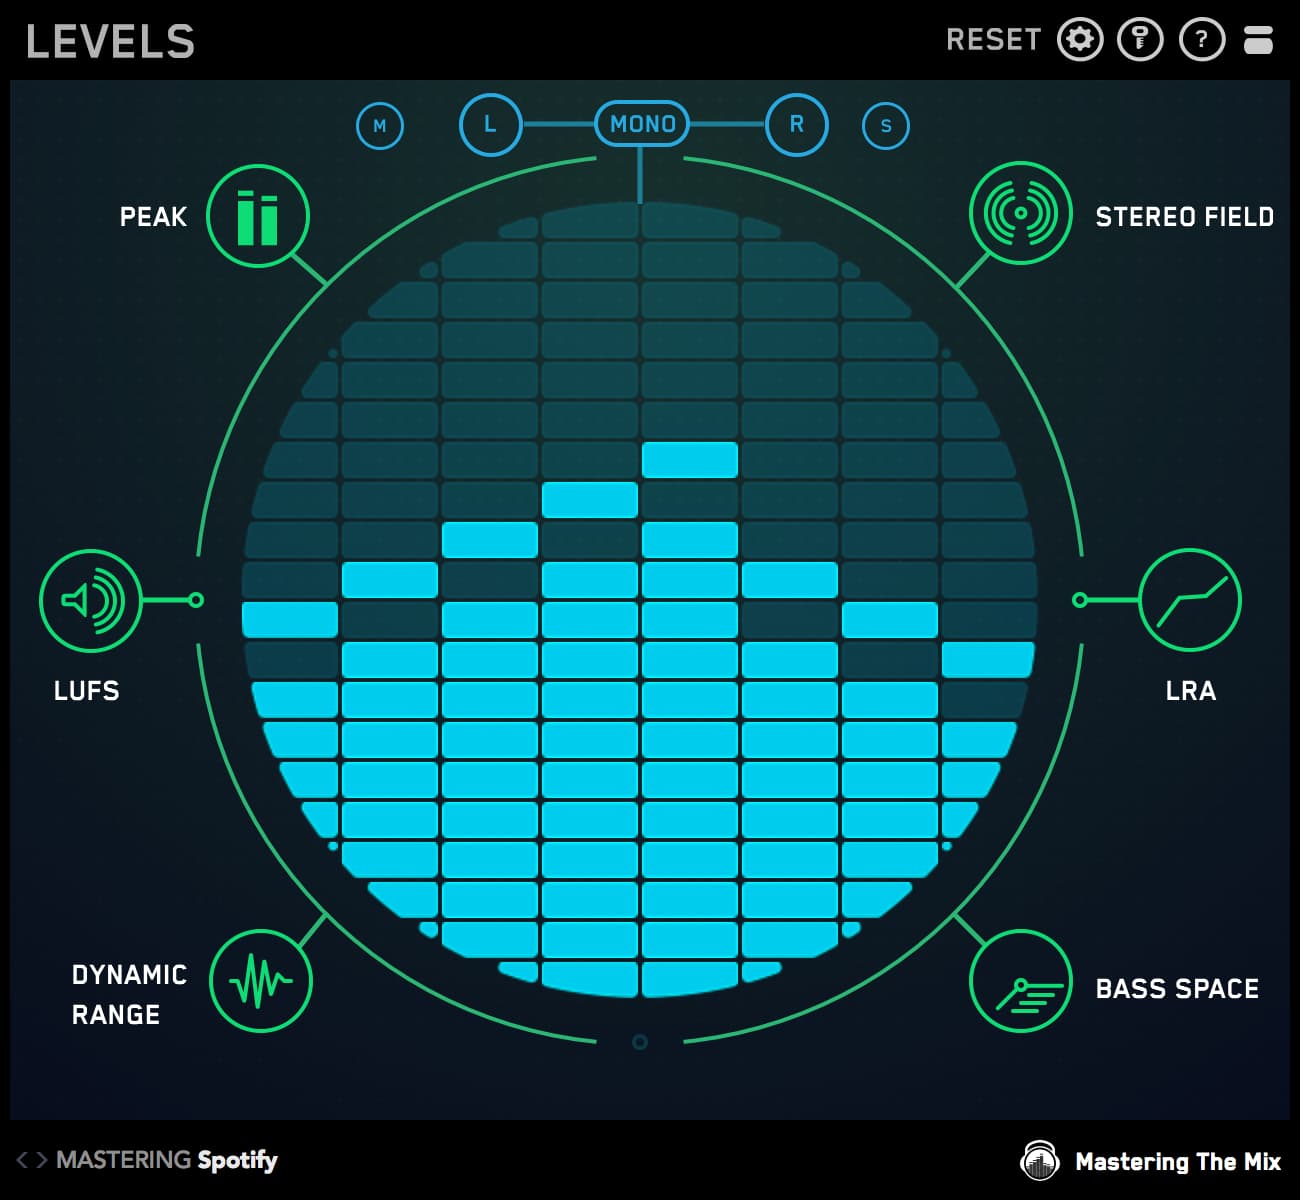
Next, ensure proper gain staging. If your tracks are too loud or too quiet, you’ll struggle to achieve balance. Use a metering tool like LEVELS to set optimal headroom, typically between -6dB and -3dB for the loudest parts of your track.

Lastly, clean up your vocal track. Apply a high-pass filter to remove unwanted low-end rumble, use a de-esser to tame harsh sibilance, and edit out background noise. These simple steps give you a clean slate to work with, ensuring your vocals have the clarity and presence they need to shine in the mix.
With these foundational steps in place, you’ll be ready to craft a mix that’s not just balanced, but powerful and engaging. Let’s move on to creating the perfect vocal space.
Crafting the Vocal Space
Creating a dedicated space for your vocals is the key to making them stand out while maintaining harmony with the instrumentation. This involves strategic use of EQ, compression, panning, and effects to carve out a pocket for the vocal to live and thrive.
Start with EQ to shape the sonic space. Use subtractive EQ to remove competing frequencies from instruments. For instance, if the vocal sits prominently in the 2–5 kHz range, dip those frequencies slightly in guitars or synths. This subtle adjustment can bring immediate clarity without sacrificing the richness of your instrumentation.
Then automate the volume of your vocals to keep the performance as balanced as possible. This can take a long time, but it's worth the effort.

Next, apply compression to your vocal. A well-compressed vocal maintains consistent presence without losing its dynamic character. Aim for 2-4 dB of gain reduction with a medium attack and release to preserve natural transients while controlling peaks. For added finesse, consider a second, lighter compressor to smooth things further.
Panning is another secret weapon. Spread your instrumentation across the stereo field, leaving the center clear for the vocal. Hard-pan guitars, widen synths, and let percussive elements create depth in the mix. This ensures the vocal remains the anchor point while the rest of the mix provides complementary support.
Finally, use reverb and delay to add depth and character. A short plate reverb can make vocals feel present and intimate, while a stereo delay with subtle feedback creates width without overwhelming the mix. For ultimate control, automate these effects to enhance transitions and emotional impact in your track.
By sculpting the perfect vocal space, you ensure your mix feels cohesive, professional, and emotionally impactful. With these techniques in hand, your vocals will no longer fight for attention—they’ll command it.

Dealing with Dense Instrumentation
When you’re working with a busy arrangement packed with layers of instruments, it’s easy for the mix to feel overcrowded. The challenge lies in finding a way to let your vocals shine without stripping away the depth and energy of the instrumentation. This is where smart balancing techniques and innovative tools come into play.
In a dense mix, vocals can often struggle to cut through layers of synths, guitars, pianos, or other instruments. Sidechain compression is an effective solution for dynamically creating space around the vocal. By subtly lowering the volume of competing elements whenever the vocal plays, you can ensure the vocal remains clear and prominent without sacrificing the richness of your instrumentation. With FUSER, you can achieve this seamlessly, thanks to its smart conflict resolution and precision processing tools.
Step-by-Step Guide to Using FUSER for Vocal Separation
Step 1: Add FUSER to Your Instrument Group
Insert FUSER as a plugin on the group bus containing your competing musical elements (e.g., synths, guitars, pianos, or all of them combined). This allows FUSER to process the entire group and dynamically make room for the vocal.

Step 2: Activate the Sidechain Input
In your DAW, enable the sidechain input in FUSER’s interface and select the vocal track as the trigger source. This ensures that FUSER reduces the volume of the musical elements every time the vocal comes in, leaving space for it to shine.
Step 3: Use the Resolve Conflicts Feature
Let FUSER analyze the interaction between the vocal and the musical elements, then click the "Resolve Conflicts" button. This feature provides an optimized starting point, intelligently reducing clashes and carving out space for the vocal.

Step 4: Fine-Tune Attack and Release Settings
Engage the delta mode (triangle button) to hear what FUSER is reducing. Solo the vocal at the same time, and adjust the attack and release settings to align the reduction with the vocal’s transients and natural phrasing. This ensures smooth and transparent processing. Once you’re satisfied, disable delta mode.
Step 5: Optimize Phase and Frequency Interactions
FUSER’s phase optimization and mid/side processing options allow you to refine the interaction between the vocal and the musical elements. Use these tools to adjust the stereo image and eliminate frequency masking, ensuring that the vocal remains distinct and balanced in the mix.

By following these steps, you can maintain the energy and depth of your instrumentation while giving the vocal the clarity and prominence it deserves. With FUSER’s advanced tools, achieving vocal separation in a dense mix becomes effortless, helping your tracks sound polished and professional.
Lastly, consider simplifying certain parts of the instrumentation. Sometimes less is more, and removing unnecessary layers during key vocal passages can make a huge difference. Focus on keeping the instrumentation supportive, not competitive.
Tackling dense instrumentation doesn’t have to be overwhelming. With the right techniques and tools, you can strike the perfect balance, allowing your vocals and instrumentation to coexist harmoniously while enhancing the overall impact of your mix.
Advanced Tips for Vocal Clarity
When you’ve got the basics of vocal mixing down, it’s time to dive into advanced techniques that will take your mix from good to exceptional. These strategies are designed to fine-tune your sound and ensure your vocals not only stand out but also blend seamlessly with the mix.
One of the most effective tools for maintaining vocal clarity is dynamic EQ. Unlike static EQ, which applies the same adjustments throughout the track, dynamic EQ reacts to changing frequencies in real-time. This means you can target and reduce resonances only when they occur, leaving your vocal sounding natural and balanced. A plugin like RESO makes this process intuitive and precise.

For more control over your stereo image, experiment with mid/side processing. This technique allows you to adjust the stereo width independently of the center (where your vocal resides). By gently widening the sides or reducing the mid-range of competing instruments, you can create a spacious mix that leaves the vocal crystal clear.
Reverb and delay often need extra attention in busy mixes. Use pre-delay on your reverb to keep the initial vocal transient clean, and adjust decay times to avoid muddying the mix. For delay, use high-pass and low-pass filters to keep echoes subtle and focused, ensuring they enhance rather than compete with the vocal.
Finally, don’t underestimate the power of automation. Automating EQ and compression can help vocals adapt to dynamic changes in the mix. For example, gently boost upper frequencies during a dense chorus or reduce reverb during a stripped-down verse to keep the vocal consistently clear and engaging.

These advanced techniques are the final polish your vocals need to sit perfectly in the mix. With practice and attention to detail, you’ll create tracks where every element shines, but the vocal always takes center stage.
Conclusion: Balancing Vocals Like a Pro
Achieving the perfect balance between vocals and dense instrumentation is a rewarding challenge that defines the difference between a decent mix and a professional one. With the right preparation, a clear understanding of your vocal’s role, and techniques to carve out space and enhance clarity, you can make your vocals stand out while ensuring the instrumentation remains rich and impactful.
Remember, it all starts with the fundamentals: using reference tracks, cleaning up your vocal, and managing gain staging. From there, techniques like EQ, compression, and automation will help you refine the mix, while tools like FUSER and RESO give you the precision to tackle complex challenges effortlessly.
Balancing a mix isn’t just a technical task—it’s an art form that requires listening, adjusting, and trusting your instincts. Don’t be afraid to experiment and iterate until everything feels just right. With each mix, you’ll sharpen your skills and develop your signature sound.
Ready to elevate your mixing game? Download the free trials of Mastering The Mix plugins and see how they can transform your workflow. With the right tools and techniques, your vocals will never get lost in the mix again!


