The last thing you want is for your listeners to turn off your music because the mix sounds harsh.
Humans are particularly sensitive to the frequencies covered by speech (1 kHz- 10 kHz). If we hear a powerful sound in this frequency range, it can be quite unpleasant. Harshness in music is introduced when this range is disproportionately louder than the rest of the frequency spectrum.
If you want to create mixes that sound bright and clear without being harsh, then this post is for you. I will discuss what causes harsh mixes, how to know when your mix sounds harsh, what accentuates harshness, and how to fix harshness.
 What Causes Harsh Mixes?
Harshness usually sneaks into your mix through a buildup of energy in the 1kHz to 10kHz range. These are the frequencies our ears are most sensitive to—right where vocals, synths, cymbals, and other crucial elements live. When too many of these overlap or get pushed too hard, it can quickly overwhelm the listener.
This harshness isn’t always obvious at first. Maybe you’re chasing brightness or clarity, adding EQ boosts or stacking layers without carving space. But suddenly, your mix feels brittle or fatiguing. Even worse, mastering compression or limiting can bring hidden harshness to the surface by lifting quieter, gritty details into the spotlight.
Stereo widening tools can also exaggerate high-frequency content. Combined with distortion or overuse of saturation, these elements amplify the issue until the mix sounds aggressive and uncomfortable. These aren’t just minor annoyances—they’re dealbreakers that can turn listeners away.
Understanding these causes is step one. Once you know how and where harshness originates, you’re in a stronger position to fix it—and that’s where things get exciting.
 How To Know When Your Mix Sounds Harsh?
Before you can fix harshness, you need to spot it—and your ears alone might not be enough. Our perception is heavily influenced by volume and fatigue. What sounds bright one day might feel shrill the next. That’s why it’s crucial to create a controlled environment and use tools that keep your judgment sharp.

Start by optimizing your monitoring setup. If you haven’t already, treat your room acoustically and use calibration software like Sonarworks to flatten your speaker or headphone response. This gives you a reliable foundation for making critical EQ decisions.

Even a difference of 1dB in loudness can affect your EQ decisions, so you’ll need to accurately level match your song and your reference track. Our plugin REFERENCE automatically adjusts for perceived loudness differences, so you're comparing apples to apples—not falling into the trap of louder = better. Loop a busy section like the chorus and toggle between your mix and the reference.

REFERENCE’s Trinity Display is your secret weapon. The white EQ line shows the exact EQ curve needed to match the tonal balance of your reference track.
If the level line dips below 0dB by 4dB or more in the 1kHz–10kHz range, you’ve likely got a harshness issue. Use this visual to confirm what your ears are telling you.

It’s a fast, accurate way to identify harshness and pinpoint where to focus your fixes—no guesswork, just clear direction.
 What Makes Harshness Worse?
We’ve established what the root causes of harshness are, but what can make it worse?
 Compression and limiting can increase the volume of subtle and quiet characteristics of your audio. There might be gritty tones in your channels that lie dormant until compression brings them to the surface. The antidote to this is going for more subtle compression and limiting settings.
Adding stereo width can increase the perceived brightness of a mix. If you add a significant amount of stereo width without considering the tonal balance, you may find the balance shifts from a warm mix to a harsh mix.
Distortion effects and grit are great, but if many channels have considerable distortion, the accumulation can result in a harsh mix. To reduce harshness when you’ve used a lot of distortion, focus the effect on channels that need it for their character and reduce the crunch on those channels that don’t.
How Do You Fix Harshness?
Getting the tonal balance right during the sound design of synths and when choosing your samples is key to avoiding a harsh mix in the first place. But when you’ve already committed to your sounds, how do you reduce harshness?
Step One: Balance All Frequencies
The fastest way to tame harshness? Get your tonal balance right. If your high mids are jumping out, chances are your low mids or low end aren’t holding their weight. Harshness isn’t always about too much top—it’s often about too little bottom.
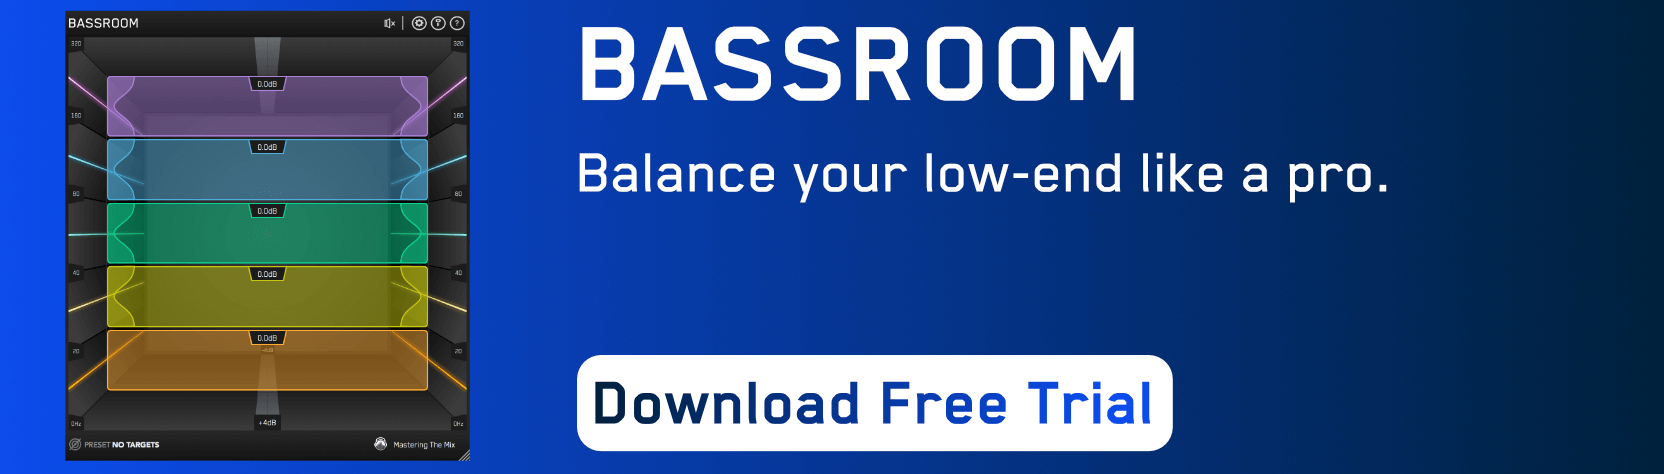
This is where BASSROOM steps in. It’s designed to help you nail the low-end balance of your mix, which has a huge knock-on effect across the spectrum. When your lows are full and solid, your highs feel more natural and less aggressive.
Load up BASSROOM on your master channel, select a genre-specific preset or import a reference track, and let it guide you. The plugin gives you target EQ zones based on successful masters in your style. Adjust your EQ bands until they sit comfortably within the target zones. You’ll hear the transformation instantly—your mix will feel more grounded, and that brittle top-end will start to mellow out.
Fixing tonal balance isn’t just about reducing harshness; it’s about enhancing the whole emotional impact of your track. When everything is in the right place sonically, your music feels bigger, cleaner, and way more professional.

Step Two: Soothing The Mix With FUSER
FUSER’s dynamic spectral ducking is the perfect tool for reducing harshness without sacrificing the clarity or energy of your mix. Unlike static EQ, which removes frequencies permanently, or traditional de-harshing plugins that constantly compress the harsh range, FUSER offers a more intelligent, reactive solution.

Harshness isn’t a constant—it usually shows up during louder sections or when multiple elements clash in the same frequency range. Most tools reduce these frequencies all the time, which can leave your mix sounding flat or lifeless. With FUSER, you can set a threshold by adjusting the node’s vertical position, so frequencies are only tamed when they actually become problematic. This approach keeps your mix sounding natural and vibrant, while still smoothing out the harsh peaks when they occur.
Step 1: Load FUSER
Add FUSER as the last plugin on the track that sounds harsh—typically vocals, cymbals, distorted guitars, or bright synths.

Step 2: Find the Problem Area
Play the loudest part of your song and watch FUSER’s frequency display. Look for harshness in the 1kHz–10kHz range.
Step 3: Add a Node
Double-click on the harsh frequency to create a node, then drag it down to set the threshold. FUSER will only reduce those frequencies when they cross that line—keeping your mix natural.

Step 4: Fine-Tune It
Adjust attack, release, and Q for smoother or sharper control. Use Mid/Side mode to target harshness only where it’s a problem—like mids for vocals or sides for wide synths.

Done! You’ve now got smart, dynamic de-harshing that works only when needed.
Step Three: Tame Resonances with RESO
Sometimes it’s not the overall EQ balance causing harshness—it’s a few stubborn, resonant peaks that cut through the mix like a knife. That’s where RESO comes in. This plugin makes it effortless to detect and control resonances that can ruin an otherwise balanced track.

Load RESO on the problematic channel or even your master bus. Hit play and watch for sharp spikes in the frequency display—these are likely resonant troublemakers. Use RESO’s smart analysis to highlight which frequencies are too prominent and need taming.
Click to place a node on a spike, then drag it down to reduce the resonance. The best part? RESO applies dynamic processing, so it only kicks in when the resonance actually becomes a problem. Your mix stays full and natural—no thin or over-EQ’d sound here.
Need a second opinion? Use the sweep feature to solo the frequency range you're working on and double-check that you're reducing the right area. It’s like having golden ears on demand.

RESO is especially powerful on vocals, synths, guitars, and even full mixes—anywhere harsh resonances tend to hide. With just a few smart moves, you’ll clean up your mix and make space for the important stuff to shine through.
Conclusion
Harshness is one of the most common—and frustrating—issues in music production. But with the right tools and techniques, you can transform a brittle, fatiguing mix into something smooth, balanced, and beautifully clear.
By correcting your tonal balance with BASSROOM, using FUSER to dynamically tame harsh frequencies, and cleaning up resonances with RESO, you’re not just fixing problems—you’re unlocking the full potential of your sound. Each tool works transparently, preserving the energy and character of your track while removing the elements that cause discomfort to the listener.
If you’re serious about creating mixes and masters that sound professional on every system, don’t leave it to guesswork. Download the free trials, experiment with the plugins, and start making smarter, faster decisions that lead to your best-sounding music yet.
And if you want more tips like this delivered straight to your inbox, sign up to our newsletter. You’ll get expert guidance, fresh production insights, and exclusive offers—so you can keep growing and stay inspired.


