
TL;DR:
Alex’s chorus lacked impact, making his track feel underwhelming. To fix it, we focused on dynamic contrast (so the drop slaps like it should), cleaning up the first beat (so the impact isn’t lost), simplifying the arrangement (to avoid muddiness), and widening the stereo field (to create that massive, open feel). By using EXPOSE 2 and REFERENCE, we compared his mix to professional tracks, fine-tuning loudness, tonal balance, and frequency contrast. Sidechain ducking with FUSER let the kick hit cleanly, and LIMITER ensured punch without squashing the mix. The result? A chorus that explodes with energy and emotion.
If your drop isn’t delivering goosebumps, don’t settle—let’s break down how to transform a weak chorus into a showstopper. 👇
Introduction
A few weeks ago, I received an email from Alex, a budding music producer with a simple but desperate plea: “Why does my chorus fall flat? It’s like the build-up promises the world, but when the chorus hits, it feels like the song loses all its energy. Help!”
Alex’s frustration resonated deeply with me. Many producers, especially those just starting, face the same issue. They pour their hearts into crafting an exciting build-up, only to be underwhelmed when the most crucial part of their track—the chorus—doesn’t deliver the payoff.
I decided to dive into Alex’s problem to uncover the root cause and, more importantly, fix it. This is the story of how we transformed Alex’s flat chorus into a showstopper.

The Initial Listen: Finding the Weak Link
Alex sent over his track, a melodic house anthem with a soaring build-up that oozed potential. As the build reached its peak, I could feel my anticipation growing… and then the chorus dropped. Or rather, it didn’t. The energy dissipated like a balloon slowly deflating. Something was missing, but what?
The problem was clear after a few listens. The chorus lacked impact because it wasn’t loud or dynamic enough compared to the build-up. The arrangement was cluttered, and crucial elements like the kick and bass were fighting for space. The emotional payoff wasn’t there.

Study Your Favorite Tracks To Unlock Their Secrets
One of the best ways to level up as a music producer is to study what makes your favorite tracks so captivating. The challenge? Most producers don’t go beyond passive listening, which only scratches the surface. To truly understand a song's magic, you need to analyze it with precision—and this is where tools come into play.
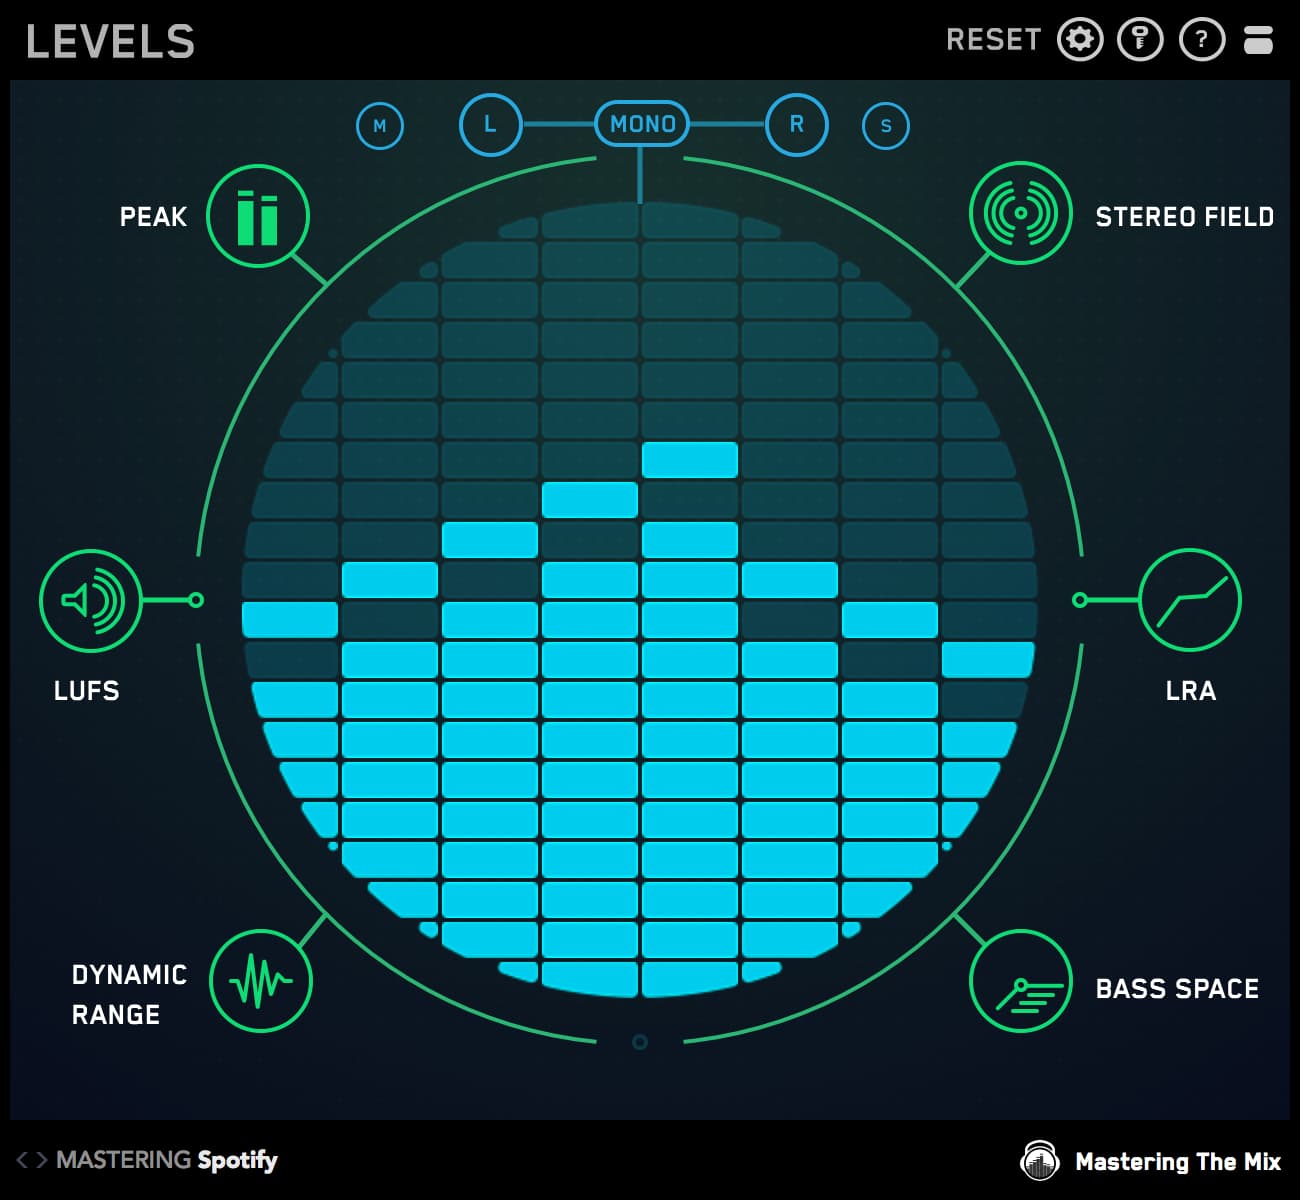
Dive Deep with EXPOSE
EXPOSE, our powerful standalone application, gives you a clear picture of the technical details in just seconds. By analyzing key metrics, you can uncover what makes your reference tracks so impactful.
Here’s how to use EXPOSE to uncover the hidden strengths of your favorite mixes:
- Dynamic Range: This measures the punchiness of a track’s quieter moments. Tracks with a dynamic range below 5DR may feel flat, while those above 9DR have a robust, punchy quality.
- Loudness Range: This tells you how much the energy changes between the verse and chorus. A range below 4LU may lack contrast, while above 6LU is average, and anything over 8LU packs a significant punch.
- Compare EQ: EXPOSE visualizes the tonal balance of your chosen track. This helps you understand how different frequency ranges (low, mid, high) are managed, and gives you a target to aim for in your own music.
Drag and drop a reference track into EXPOSE, loop the section where the chorus kicks in, and take notes. Are there unique dynamics, tonal shifts, or stereo changes? These observations will guide your next production steps.

Refine with REFERENCE
With insights from EXPOSE, it’s time to compare your work directly to your reference tracks using REFERENCE. This tool allows you to align your mix's key attributes with those of your favorite songs, ensuring your music stands up to the competition.
Here’s how to use REFERENCE effectively:
- Loop the verse and chorus sections in your DAW and REFERENCE, jumping back and forth to compare.
- Ask yourself the following questions:
- Is the volume increase from verse to chorus comparable to my reference?
- Does the first beat of the chorus land with similar impact?
- Is my arrangement clear and dynamic?
- Am I utilizing the full frequency spectrum effectively?
- Does the stereo width expand during the chorus?
Using a reference track is like having a map—it keeps you on course. Aim to make your transitions and dynamics as polished and engaging as your favorite tracks. By doing so, you’ll elevate your mixes and leave your listeners wanting more.

Step 1: It’s All About Dynamics
To make the chorus hit harder, we needed to create a noticeable dynamic contrast between the build-up and the drop. I explained to Alex that the build-up shouldn’t overshadow the chorus in terms of volume and energy. “Think of it like a rollercoaster,” I said. “You climb up with the build-up, and the drop should feel exhilarating.”
We automated the gain of the chorus channels to make them louder than the build-up. But not too loud—just enough to give the chorus a lift. This subtle change alone made a world of difference. The chorus now felt like a destination, not an anticlimax.

Step 2: Cleaning Up the First Beat
The first beat of the chorus is crucial. If it doesn’t land with authority, the entire section feels weak. In Alex’s track, the kick, bass, and a massive sub-drop were all competing for dominance on the first beat, creating a muddled sound.
I introduced Alex to sidechain ducking. By using FUSER, we ducked the bass slightly when the kick hit, allowing the kick to shine through.
We also trimmed the sub-drop’s length and automated a slight fade-in on the bass. The result? A clean, powerful first beat that grabbed attention.

Step 3: Simplifying the Arrangement
As we continued, I noticed Alex had layered a dozen synths in an attempt to make the chorus sound big. “More layers don’t always mean a bigger sound,” I told him. “Sometimes, they just make things messy.”
We stripped the arrangement down to a few rich, full-bodied sounds that covered a broad frequency range. The result was a clearer, more impactful mix. With fewer elements competing for space, each sound had room to breathe, and the chorus felt more cohesive.

Step 4: Widening the Stereo Field
One trick to making a chorus feel bigger is to expand the stereo width. Before the drop, Alex’s mix was already wide, leaving no room for the chorus to grow. I suggested narrowing the stereo width of the build-up, then widening it dramatically in the chorus.
We used subtle automation on the stereo width of his pads and leads. We also added a stereo delay to a supporting synth in the chorus. The contrast between the narrower build-up and the wider chorus made the drop feel massive.

Step 5: Leveraging Frequency Contrast
To create even more contrast, we played with the frequency range. During the build-up, we used a high-pass filter to gradually remove the low-end. When the chorus hit, the bass came back in full force, giving the drop a huge, satisfying punch.
We also brought in crispy high-end elements like hats and shimmers during the chorus, which we had subtly rolled off in the build-up. The full frequency range in the chorus added depth and excitement.

Step 6: Fine-Tuning with Reference Tracks
To ensure we were on the right track, we used REFERENCE to compare Alex’s mix to similar tracks in the genre. We focused on how the verse transitioned to the chorus, paying attention to loudness, tonal balance, and stereo width.
By matching the dynamics and tonal balance of his chorus to those of professionally mastered tracks, Alex was able to create a polished, professional sound.

Step 7: Limiting with a Light Touch
Finally, we ensured all the hard work wasn’t undone during mastering. Over-limiting can squash the life out of a mix, so we used LIMITER to achieve the perfect balance. Its smart analysis helped us set the attack, release, and ceiling to retain punch and clarity in the chorus.

Step 1: Load up an instance of LIMITER on your master channel and select your preset, such as Loud, Spotify, or Apple Music.

Step 2: Monitor the loudest section of your track, and click analyze. You’ll see a target range highlighted on the input gain slider showing you what gain adjustment is suggested to achieve your sonic goal.You’ll also see target arrows on the attack, release, link and ceiling knobs, helping you optimize those settings to suit your music.

Step 3: Set the gain slider¹ within the highlighted target range, then adjust the attack², link³, and ceiling⁴ knobs to match the suggestions based on LIMITERs analysis.

We recommend leaving ‘Release’ on auto for the most musical result.
The Big Reveal: A Chorus That Hits Hard
When Alex sent me the final version of his track, I couldn’t stop smiling. The build-up was tantalizing, and the chorus exploded with energy and emotion. It was everything he had envisioned—and more.
“You nailed it,” I told him. “Now your track has that wow factor.” Alex was thrilled, and his confidence as a producer skyrocketed. He shared the track with friends and fans, who all had the same reaction: goosebumps when the chorus hit.
Conclusion: From Flat to Fantastic
Alex’s journey is a reminder that every challenge in music production is an opportunity to learn and grow. If your chorus feels flat, don’t get discouraged—analyze the problem, make adjustments, and experiment with dynamics, arrangement, and frequency contrast.
With tools like REFERENCE, FUSER, and LIMITER, you have everything you need to elevate your mixes and create music that moves people. So, next time your chorus doesn’t quite land, remember Alex’s story and know that a breakthrough is just a few tweaks away.


