Mid/side EQ lets you adjust frequencies in the center of a stereo track separately from the sides, which can be an extremely useful technique for mastering.
When used correctly, mid/side EQ gives you additional control over stereo tracks and can even be used to isolate instruments in the mix. However, it can also quickly throw your mix off-balance or even cause phase problems if you don’t know what you’re doing.
That’s why we put together this blog to help you enhance your tracks using mid/side EQ while mastering. Read on to learn some of our favorite tips for adding focus, width, and depth to your masters using mid/side EQ.

Use Reference Mixes
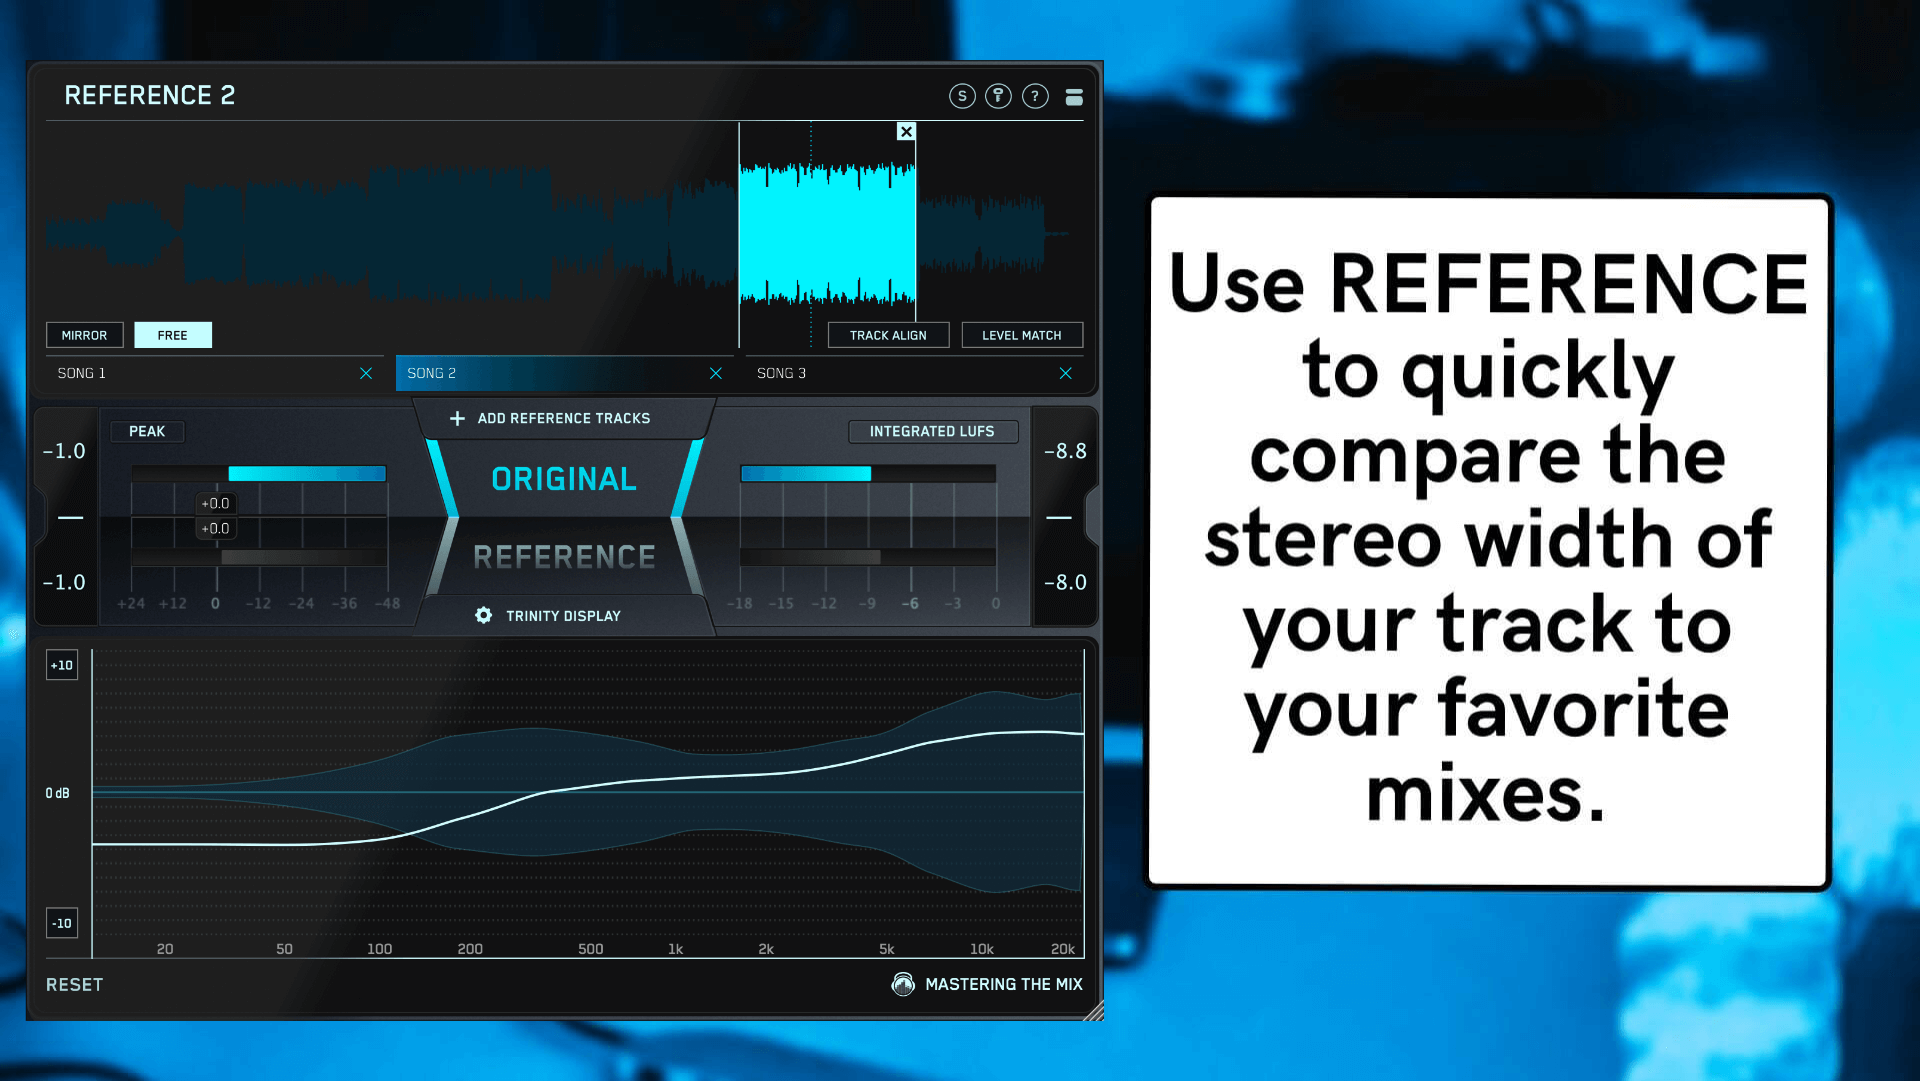
If you spend enough time tweaking knobs, you can lose perspective and think that what you’re doing sounds great when it might not. That’s why it’s important to use reference mixes to make sure you stay on target while mastering.
REFERENCE is the perfect tool for quickly comparing your track to your favorite mixes. Insert REFERENCE after your limiter on your master track (before you’ve even started mastering) and drag and drop your reference mixes into the Wave Transport.
Then click the Level Match button to make sure your mix and your reference tracks are at the same level. This will make it easier to fairly compare your mix to your reference tracks.
Press play and use the ORIGINAL and REFERENCE buttons in the center of the plug-in to toggle back and forth between your mix and the reference. Listen closely and see if you can identify any tonal imbalances between the two. Pay special attention to the stereo width of each frequency range.
Use a Linear Phase EQ
Traditional EQs run the risk of causing phase problems, especially when adjusting the mid and side channels separately. It helps to use a linear phase EQ like MIXROOM while mastering to minimize phase issues.
MIXROOM’s Linear Phase (LIN) filters introduce very slight transient effects, but no phase distortion, resulting in maximum transparency. Linear phase EQs tend to require a bit more processing power, which is why they’re not as commonly used for mixing sessions.

Be Subtle
I know it may be tempting to crank the gain, but mid/side should be used with a subtle touch when mastering. Generally speaking, it’s best to use a low Q value with a wide band to avoid creating resonant peaks or noticeable cuts.
It’s also a good idea to keep any EQ moves under 4 dB—if you find that you need to make more drastic moves, it may be best to return to the mix phase, as you run the risk of affecting all of the instruments when trying to correct problems with one track.
MIXROOM’s Master Mode (MST) uses unique filters that are optimized for transparency. The Master Mode filters limit cutting and boosting to 4 dB or less, and Q bandwidth settings broader than 1.5 to help keep you on track. This can be especially helpful to keep you in check when boosting—cranking 12 kHz may sound good at first, but it’s going to tear your ear off when you listen in the morning!

Add Detail and Clarity to Vocals
During the mixing stage, you can easily make the vocals feel louder by increasing the channel level, but there’s no way to isolate a specific instrument while mastering.
Thankfully, with some precision, you can help bring the vocals forward in the mix using mid/side EQ. Since the lead vocals should be panned to the center of the mix, you can make a subtle EQ boost to the upper midrange in the middle channel to make them sound louder.
Insert a new band and hover over the gain display in the center until the stereo image symbol pops up below. Click the “M” to isolate your EQ adjustment to the middle band.
Boost the band by 4 dB and sweep through the frequency ranges to find what sounds best for your song. Once the vocals start to jump out of the speakers, lower the gain of the EQ band until the vocals sound present, but not overpowering.
To enhance this effect even further, try attenuating the low-mids in the side channels (click the “S” button instead) to remove any muddiness and help focus the low end in the center of the track.

Tame High-Frequency Instruments
You can also use mid/side EQ to push instruments back in the mix.
For instance, if the cymbals or synth pads in your mix are fighting with the vocal, you can reduce the 8 - 12 kHz range in the center channel. This helps reduce the level of these instruments in the center channel while retaining their full clarity in the side channels.
Just be careful not to cut too much, or you may cause the vocal to sound muffled.

Enhance the Width of Your Master
Mid/side EQs are great for adding depth, space, and width to your tracks. To make a mix sound wider, start by rolling-off the lows in the middle channel. Be careful not to cut too much or your mix may start to sound thin. Depending on the track, you may want to cut up to 40 or 60 Hz.
Now that you’ve brought some focus to the center, you can use the side channels to make it sound like the high-end is coming from outside the speakers. Use a high-shelf to boost everything above 10 or 12 kHz in the sides for a widening effect.
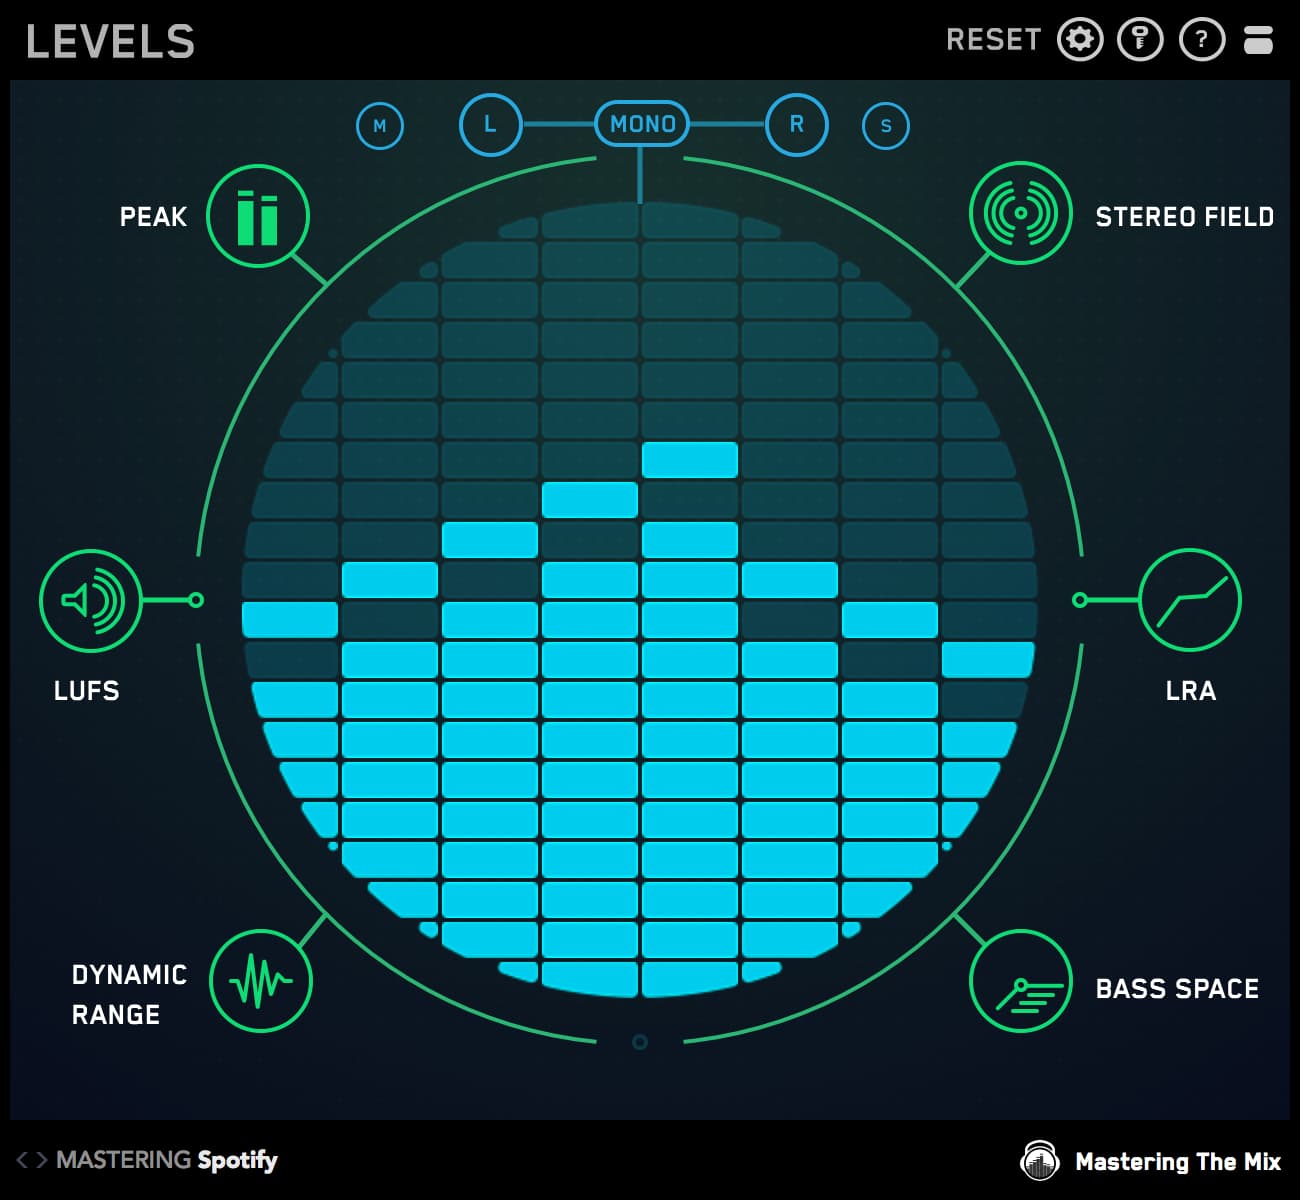
The more you boost the highs, the wider the mix will sound. Just be careful not to overdo it, or you may cause phase problems. If you’re using MIXROOM in Linear Phase and Master Mode, you don’t have anything to worry about. But if you’re using a different mid/side EQ, you should use a metering tool like LEVELS to check your master for phase problems.

Follow these six tips to take your masters to the next level using mid/side EQ.


