
Are you frustrated with tracks that feel incomplete or lack that professional polish?
You're not alone. Creating a well-balanced arrangement is crucial for producing music that captivates listeners and stands up to industry standards.
This blog post will guide you through identifying and filling gaps in your mix.
Whether it's enhancing your bass, enriching your vocals, or adding punch to your rhythm, we have you covered. Dive in to discover how to elevate your mixes and achieve a sound that’s both polished and powerful.

Understanding the Elements of a Balanced Track
Creating a well-balanced track is crucial to ensuring your music sounds professional and engaging. A balanced track means that all elements—melody, harmony, rhythm, and dynamics—work together harmoniously. Here's a closer look at each component:
Melody
The melody is the main theme of your track, often carried by vocals or lead instruments. It's essential to ensure your melody is clear and prominent but not overwhelming other elements.
Harmony
Harmony supports the melody by adding depth and richness. It often comes from chords played by instruments like guitars, pianos, or synths. Balanced harmony enhances the melody without clashing with it.
Rhythm
Rhythm provides the groove and timing of your track. Drums and percussion are the primary sources of rhythm, but all instruments contribute to the overall groove. A well-balanced rhythm section keeps the track moving and engaging.
Dynamics
Dynamics refer to the variation in loudness throughout your track. Proper use of dynamics can make your music more expressive and impactful. Balance here means having enough contrast to keep the listener interested without jarring volume changes.
In different genres, the importance of each element can vary. For instance, electronic dance music might focus more on rhythm and bass, while classical music emphasizes melody and harmony. Understanding the role of each component in your specific genre will help you achieve a well-balanced mix.

Common Gaps in Tracks and How to Identify Them
As you work on your mix, you might notice that something feels off or incomplete. Identifying these gaps is the first step towards creating a well-balanced track. Here are some common gaps and how they can impact your mix:
Weak Bass
A track with weak bass lacks the foundation that drives the energy of the music. This can make the track feel empty or less powerful. Ensure your bass elements are strong and present, but not overwhelming other frequencies.
Thin Vocals
Vocals that sound thin can fail to engage the listener. They might get lost in the mix or lack the warmth and richness needed to carry the melody. Adding layers or using effects can help enhance vocal presence.
Lack of Punch
If your track lacks punch, it might feel flat and unexciting. Punchiness often comes from well-balanced dynamics and a strong rhythm section. Proper compression and transient shaping can help bring out the punch in your mix.
Muddy Midrange
A muddy midrange can cause your mix to sound cluttered and unclear. This often happens when multiple elements compete for the same frequency space. Use EQ to carve out space for each element to breathe.
Unbalanced Highs
High frequencies that are too prominent or too subdued can throw off the balance of your mix. Overly bright highs can be harsh on the ears, while dull highs can make your track sound lifeless. Adjusting EQ and using reference tracks can help you find the right balance.

Identifying Gaps using Reference Tracks
One of the most effective ways to identify gaps in your mix is by using reference tracks. By comparing your mix to professionally mixed and mastered tracks, you can pinpoint the elements that might be missing or need adjustment.
Using Our REFERENCE Plugin
Our REFERENCE plugin is a powerful tool for comparing your mix to reference tracks. Here’s how to use it:

Loading Reference Tracks
Add REFERENCE as the final plugin on your master channel then load your chosen reference tracks by dragging and dropping them into REFERENCE. These should be tracks that you admire and that are similar in genre and style to your own.
Matching Perceived Loudness
Before making any mix decisions, match the perceived loudness of your reference track to your mix. This is crucial because our perception of sound changes with volume. The REFERENCE plugin can automatically match the loudness, ensuring a fair comparison.
Analyzing Tonal Balance
Use the Trinity Display in REFERENCE to analyze the tonal balance of your mix compared to the reference track. The white EQ line will show you the exact EQ adjustments needed to match your reference, helping you identify and correct any tonal imbalances.
Examining Stereo Spread
Check the stereo width of your mix against your reference track. A well-balanced stereo spread ensures that your mix sounds full and immersive. Adjust panning and use stereo widening tools as needed to achieve a similar width.
Evaluating Punch
The punch dots in the Trinity Display will indicate how the dynamic range of your mix compares to the reference. Aim for a dynamic range that matches your reference to ensure your track has the right amount of energy and impact.

Practical Tips for Selecting Reference Tracks
When choosing reference tracks, select those that are in the same genre and have a similar instrumentation and arrangement. This will give you a more accurate benchmark for your mix. Keep in mind the following tips:
Genre Specificity
Choose reference tracks that represent the genre you’re working in. Different genres have different standards for tonal balance, dynamics, and stereo spread.
Instrumentation and Arrangement
Select tracks with similar instrumentation and arrangement. For instance, if your track has a prominent piano, choose a reference with a well-mixed piano part.
Professional Quality
Use commercially successful tracks that have been professionally mixed and mastered. These tracks set the standard for what a high-quality mix should sound like.
By using reference tracks and tools like the REFERENCE plugin, you can identify and address the gaps in your mix, moving closer to a well-balanced and professional-sounding track.
Consistency is Key
Consistently use the same section of the reference track when making comparisons. Looping the chorus or a particularly dynamic section can give you a clear idea of how your mix measures up.
Focus on One Element at a Time
When comparing your mix to the reference, focus on one element at a time, such as bass, vocals, or high frequencies. This approach allows you to make precise adjustments without overwhelming yourself.
Use Multiple Reference Tracks
Using multiple reference tracks can provide a broader perspective. Different tracks might highlight various aspects of your mix that need improvement. This diverse comparison can help you achieve a more balanced and professional sound.
Trust Your Ears
While visual tools and plugins are incredibly helpful, always trust your ears. If something sounds off, even if the plugin says it's correct, make the necessary adjustments. Your ears are the ultimate judge in the mixing process.

Filling the Gaps in Your Mix
Achieving a balanced mix often involves addressing weak frequency ranges. Identifying and filling these gaps can transform your track into a full, polished production. Here’s how to enhance specific frequency ranges and ensure your mix sounds complete.
Enhancing Low Frequencies (0-200 Hz)
Sub Bass
If your mix feels weak in the sub-bass region, adding a dedicated sub-bass layer can provide the necessary foundation. Use a sine wave or a low-end synth to add depth and power. Ensure the sub-bass is clean and well-defined to avoid muddiness.
Strengthening Lower Midrange (200-500 Hz)
Bass Layer
For a weak lower midrange, consider layering your bass. Adding a mid-bass layer can enhance the richness and warmth of your track. This layer should complement the sub-bass and fill out the frequency spectrum without overwhelming other elements.
Boosting Midrange (500 Hz-1 kHz)
Low Synth, Vocals, or Pads
A weak midrange can make your mix feel hollow. Introduce a low synth, additional vocal layers, or a pad to fill this range. These elements add body and presence, making your track feel more cohesive and engaging.
Enhancing Upper Midrange (1 kHz-5 kHz)
Guitar, Snare, or Vocal Clarity
The upper midrange is crucial for clarity and presence. If this range feels weak, try adding elements like guitars, snare hits, or enhancing vocal clarity. These sounds can cut through the mix, providing definition and brightness.
Strengthening High Frequencies (5 kHz-10 kHz)
Hi-Hats, Cymbals, or Shimmering Synths
High frequencies add sparkle and air to your mix. If this range is lacking, add hi-hats, cymbals, or shimmering synths. These elements should be bright but not harsh, enhancing the overall clarity and excitement of your track.
Adding Air and Shine (10 kHz and Above)
Airy Effects and High-End Boosts
For the highest frequencies, subtle boosts can add air and shine. Use EQ to gently lift the top end or add airy effects like reverb tails or high-frequency synth pads. This approach can make your mix feel open and expansive.
Removing Elements for Balance
If any frequency range feels too busy, consider removing elements to create space. Overcrowded frequencies can lead to a cluttered and unbalanced mix. Use EQ cuts and panning to separate sounds and ensure each element has its own space.
By addressing these frequency ranges and making strategic additions, you can fill the gaps in your mix and achieve a well-balanced, professional sound. Remember, sometimes less is more. Removing conflicting elements can be just as effective as adding new ones.

Using FUSER to Add Layers Without Conflict
FUSER is an excellent tool for adding layers to your mix without introducing conflict. It allows you to blend multiple sounds seamlessly, ensuring each element has its own space.

Carving Out Space for Dominant Channels
When adding layers, identify the dominant channel in your mix – the primary element you want to stand out. Use FUSER to carve out space in the submissive channels, allowing the dominant channel to shine.
Creating Complementary Layers
Choose sounds that complement rather than compete. For example, layer a bright synth with a darker pad to create a full, balanced sound. Use FUSER to blend these layers smoothly, ensuring each sound enhances the other.
Avoiding Frequency Clashes
The Resolve Conflicts button in FUSER is particularly useful, as it dynamically adjusts the spectral ducking to prevent frequency clashes without overdoing it. This ensures each element retains its character while fitting perfectly in the mix.
Dynamic Layering
Automate the volume and panning of your layers to create movement and interest. Dynamic layering keeps your track engaging and prevents static, monotonous arrangements.
By employing these strategies and utilizing tools like REFERENCE and FUSER, you can effectively fill the gaps in your mix. These techniques will help you achieve a balanced, professional sound that stands up to your favorite reference tracks.

Examples To Get You Started
To provide a practical understanding of how to fill the gaps in your mixes, let's explore some theoretical case studies. These examples will demonstrate how producers identified and addressed issues in their tracks using various techniques and tools, including REFERENCE and FUSER.
EXAMPLE 1: Enhancing Bass and Punch
The Challenge
A producer was working on an electronic dance track that felt weak and lacked energy. The bass was barely audible, and the overall punch of the track was missing.
The Solution
The producer started by using REFERENCE to compare their mix with a professionally mastered track in the same genre. The Trinity Display highlighted the differences in the low-end and punch. The EQ line showed a significant boost suggested in the bass frequencies, and the punch dots were moving towards the central line, indicating a lack of dynamic range in the drums.
Steps Taken
- EQ Adjustments: The producer used an EQ to boost the bass frequencies around 60-100 Hz, to match the suggestion from REFERENCE.
- Transient Shaping: They applied a transient shaper to the kick and snare, increasing the attack to add punch.
- Parallel Compression: To add more energy without losing the natural dynamics, the producer used parallel compression on the drums.
- Spectral Ducking: FUSER was placed on the bass and sidechained to the kick. The producer clicked 'Resolve Conflicts' to duck the bass whenever the kick played, resulting in a cleaner mix and punchier kick.
- Final Touches: After making these adjustments, the producer used REFERENCE again to ensure the changes brought their track closer to the reference. The improvements were evident, with a fuller bass and more impactful drums.

EXAMPLE 2: Adding Vocal Depth and Presence
The Challenge
A singer-songwriter was mixing a pop track but found that the vocals sounded thin and lacked the richness needed to stand out in the mix.
The Solution
Using REFERENCE, the artist compared their mix to a top-charting pop song. The analysis revealed that their vocals were lacking presence in the 3-5 kHz range and needed more spatial effects to add depth.
Steps Taken
- Vocal Doubling: The artist recorded multiple takes of the main vocal line and blended them to create a fuller sound.
- EQ and Compression: They used an EQ to boost the presence range and applied gentle compression to smooth out the performance.
- Reverb and Delay: Adding a plate reverb and a short delay created a sense of space and width. They used FUSER on the effects channel sidechained to the vocal to blend these effects subtly, ensuring the vocals remained clear and focused.
- Final Comparison: With REFERENCE, the artist confirmed that their vocals now had the desired presence and richness, aligning well with the professional reference track.

EXAMPLE 3 - Solving Phase Issues When Layering Kicks
In a rock production, a producer faced the challenge of layering multiple kick drum samples without causing phase cancellation.
The Challenge
The mix felt weak, especially in the low end, where different kick samples were competing for space and clarity.
The Solution
The producer used FUSER to manage the layering process, and to reduce the phase cancellation of the kicks.
Steps Taken
- Layer Selection: The producer selected complementary kick samples, such as a punchy kick for the attack and a deeper kick for the body, ensuring each layer served a distinct purpose.
- Phase Optimization: The producer utilized FUSER's automatic phase optimization feature to address phase cancellation issues. This feature automatically aligns the phase of the layered kicks, preventing the peaks and troughs from canceling each other out.
These case studies illustrate how identifying gaps with reference tracks and using tools like REFERENCE and FUSER can significantly improve your mixes. By applying targeted EQ adjustments, dynamic processing, and careful layering, you can achieve a well-balanced, professional sound.

Troubleshooting and Final Adjustments
Even after implementing the techniques discussed, you may encounter challenges in achieving a balanced mix. Troubleshooting common issues and making final adjustments are crucial steps in refining your track. Here are some tips to help you through this process.
Common Issues and How to Resolve Them
Muddy Mix
A common issue is a muddy mix, where the midrange frequencies are cluttered, making the track sound unclear.
Solution
Start by using an EQ to carve out space for each instrument. Use high-pass filters to remove unnecessary low frequencies from non-bass instruments. Reference tracks can help you identify which frequencies need adjustment. If muddiness persists, try reducing the reverb on certain elements or adjusting the arrangement to avoid overlapping frequencies.
Thin Sound
If your mix sounds thin, it might lack low-end or midrange warmth.
Solution
Boost the bass frequencies carefully using an EQ. Layering instruments or adding harmonic enhancers can also add warmth. Ensure that your mix has a balanced midrange by comparing it with a reference track. Adding subtle saturation can help in achieving a fuller sound.
Harsh Highs
Overly bright or harsh high frequencies can make a mix unpleasant to listen to.
Solution
Use a de-esser to tame harsh sibilance in vocals. Apply a gentle high-shelf EQ cut to reduce excessive brightness in the overall mix. Listening to your mix on different playback systems can help you identify and fix harshness issues.
Lack of Punch
A mix that lacks punch can feel flat and unexciting.
Solution
Use transient shapers on drums and other percussive elements to enhance their attack. Parallel compression can add punch and energy without losing the natural dynamics. Ensure that your track has a good balance between compression and dynamic range.

Making Final Adjustments
Volume Automation
Volume automation is a powerful tool for adding movement and interest to your mix. Use it to create dynamic changes and emphasize important parts of the track. For instance, gradually increasing the volume of a build-up section can enhance its impact.
Stereo Imaging
Ensuring a balanced stereo image is crucial for a professional-sounding mix. Use panning to place instruments in the stereo field, creating a wide and immersive sound. Stereo widening tools can help, but use them sparingly to avoid phase issues.
Checking Mono Compatibility
Always check your mix in mono to ensure it translates well on all playback systems. Some stereo effects can cause phase cancellation when summed to mono, leading to a loss of important elements. Adjust panning and stereo effects as needed to maintain a strong mono signal.
Listening on Multiple Systems
Test your mix on various playback systems, including studio monitors, headphones, car speakers, and even phone speakers. This practice helps you identify and fix issues that might not be apparent in your studio environment.
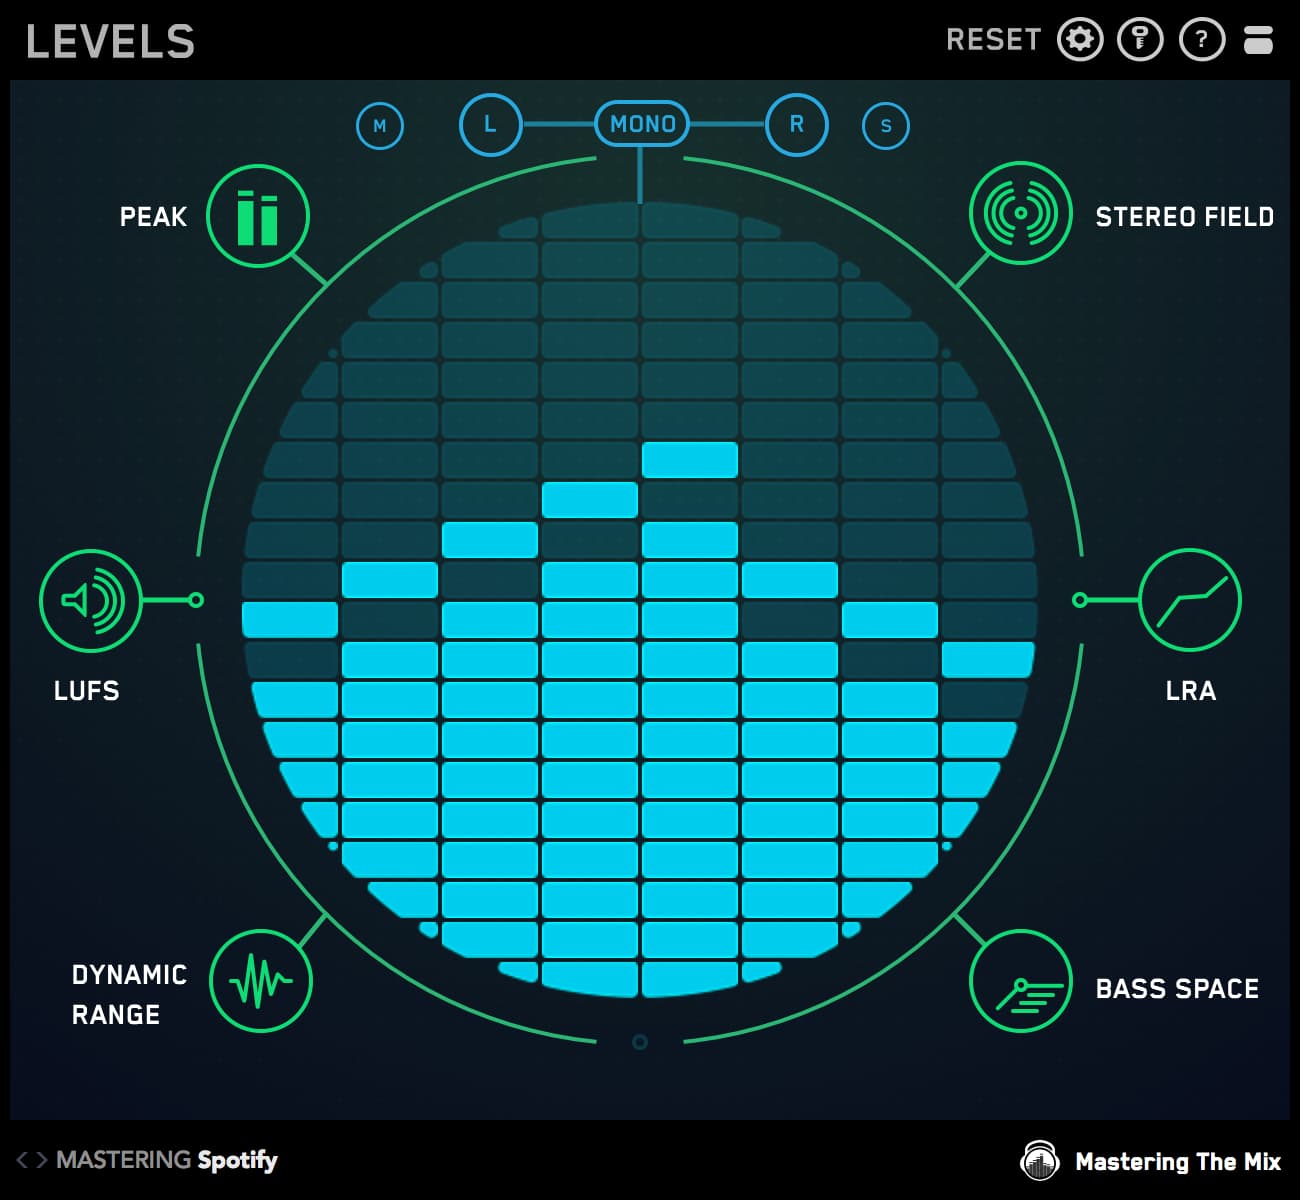
Using EXPOSE 2 for Quality Control
Mastering the Mix’s EXPOSE 2 is an excellent tool for final quality control. It helps you identify issues like poor EQ balance, clipping, over-compression, and phase problems. Drag and drop your mix into EXPOSE 2, select the appropriate preset, and follow the analysis feedback to optimize your track.
Continuous Comparison with Reference Tracks
Throughout the troubleshooting and adjustment process, continuously compare your mix with reference tracks. This practice ensures that your track maintains the desired quality and balances well against professionally mixed and mastered songs. Use REFERENCE to make real-time comparisons and adjustments, keeping your mix on track.
Final Listen and Polishing
Before finalizing your mix, take a step back and listen to the entire track from start to finish. Make note of any elements that still feel out of place or need further tweaking. Small adjustments in volume, EQ, or effects can make a significant difference in the final polish of your track.

Conclusion
Achieving a well-balanced mix involves a combination of identifying gaps, making targeted adjustments, and continuous troubleshooting.
By using tools like REFERENCE and FUSER, and following the strategies outlined in this guide, you can create professional-sounding tracks that stand up to your favorite reference tracks.
Remember, the key to a great mix is patience, attention to detail, and a willingness to experiment and refine.


